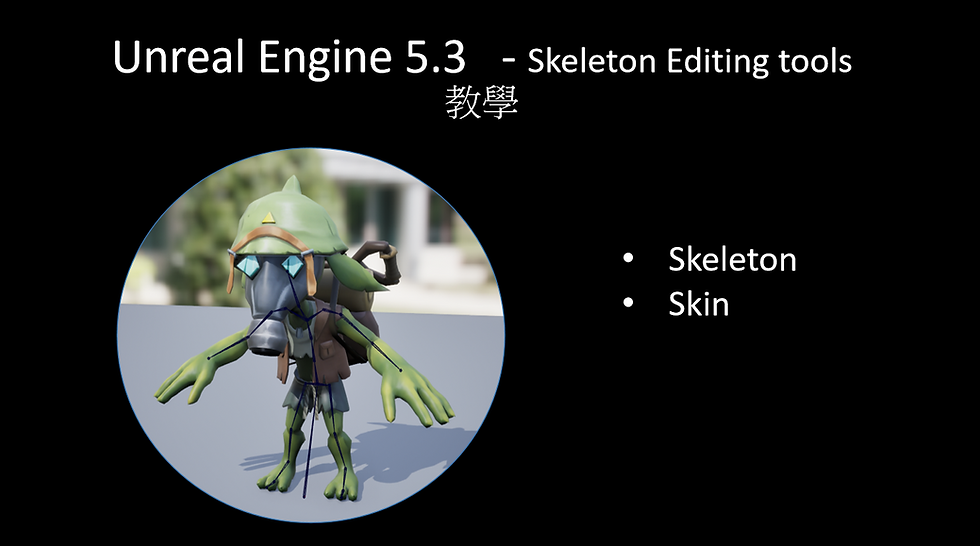
[Skeleton] Unreal Engine 5.3 Rig骨頭編輯工具教學 |Skeleton Editing Tool
- Liling Liu

- 2023年10月24日
- 讀畢需時 2 分鐘
骨頭編輯工具
匯入模型和貼圖: 將模型和貼圖放進 Browser


FBX import Options:
Skeletal Mesh: turn off
Combine Meshes: 如果你有很多分開的模型,需要結合為一個,將他打勾
插件:
Skeletal Mesh Editing Tools

Static Mesh converts to Skeletal Mesh
選擇Static Mesh > 滑鼠右鍵 > Convert to Skeletal Mesh

Default: Skeleton import : create New

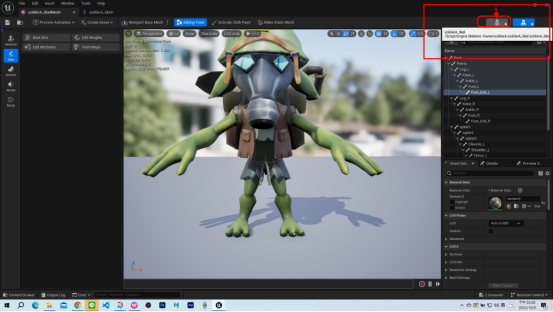
Double Click: Skeleton Mesh


1.骨頭
2.Skin

1.骨頭
加入骨頭
點選 Skeleton > Edit Skeleton
View: Front View/ Right view / Perspective
選項 1:
Action: Add (加入骨頭)

選項2:
點選+

開始加入骨頭: 脊椎, 頭部,手, 腳
重點: 脊椎骨頭(中間骨頭) the location X = 0 , Later to mirror to use

確保命名骨頭
選擇每一個骨頭並命名
選項1: Details > name
選項2: 選擇骨頭並按下 F2命名


如果骨頭的位置是錯誤的,可以選上骨頭並按下W鍵來移動
當你選擇骨頭,按下E鍵會發現選轉與骨頭不同
Orient:
Auto Orient turn on > Click Orient

Result:

原先圖片的命名方式無法正常的Mirror
所以在這邊再次重新命名
L_Clavicle -> Clavicle_L
L_Shoulder -> Shoulder_L
L_Elbow -> Elbow_L
L_Hand -> Hand_L
Mirror

左邊命名後, go to Action and 點選 Edit
Mirror > Options
Left string and Right string to key 上你的左邊命名方式
Mirror Axis: X
選擇 L_Clavicle, and 點選Mirror to 得到右邊

View Axis
改變 Axis Length to view Axis

編輯完成後, 點選accept


2.Skin
點選 Skin > Bind Skin
Binding:
Max influences: 一個頂點讓多少的骨頭受影響
After bind skin, go to Edit weight
選擇骨頭得知權重 ,白色: 有影響的權重, 黑色: 沒有影響的權重
如果你想改變權重顏色, Min/Max color,改變你要的顏色

Weight Editing Mode: Brush 筆刷
Shift: Smooth
B:筆刷大小和強度
B+ drag left & right: 筆刷大小
B+ drag up & down: 筆刷強度

Weight Editing Mode: Vertices

左邊權重畫完後,選上左邊的點並按下 mirror.

Go to Skeleton,移動骨頭 來確認骨頭權重
選項1 : Go to right top to click the skeleton button
選項2: Go to browsers to open the skeleton

Youtube tutorial:
教學文件下載 / Documents Download:
Skeleton Editing Unreal Engine:
贊助 / Support Me
BuyMeAcoffee: https://www.buymeacoffee.com/lutopialab
Patreon: https://www.patreon.com/LutopiaLab/
留言